
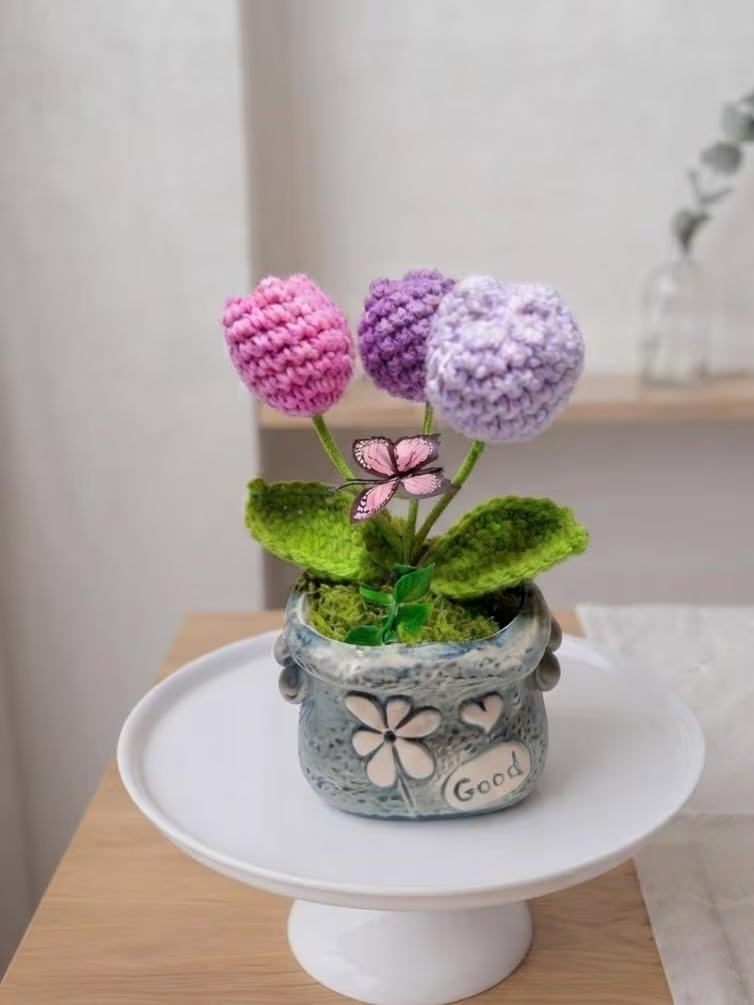
Good product photos don’t require a studio. For small wholesale gift shop listings and handmade goods, daylight keeps colors and textures honest and approachable. This article shows a practical, low-tech setup you can repeat across many items so your online catalog looks cohesive, scale is clear, and buyers know what to expect without overpromising.
Choose the best window and time of day
Natural light varies a lot through the day, so start by testing the windows in your shop or workspace. A north-facing window generally provides steady, soft light that’s easy to work with; east- and west-facing windows offer warm morning or late-afternoon light but will shift in tone and intensity. Try placing your setup near different windows and photograph the same item multiple times to see which gives the most consistent results for your product mix.
Avoid direct sun that creates harsh highlights and blown-out color. If direct rays are unavoidable, diffuse them with a plain white sheet, shower curtain, or sheer curtain to soften shadows. Diffusion will reduce dramatic contrast and reveal more detail in fabrics, yarns, wood grain, or metallic finishes without needing complicated modifiers.
Build a consistent background everyone recognizes
Consistency helps shoppers compare listings quickly. Choose a neutral backdrop—matte white, warm cream, or a soft gray—and use the same material for all small items. Paper rolls, inexpensive canvas cloth, or a sheet of foam board are practical because they are easy to clean, crease-resistant, and replaceable. When possible, photograph against a single backdrop color for an entire category so the eye focuses on the product rather than the surface.
Consider texture and finish. A matte background minimizes reflective surprises on shiny objects, while subtle wood or fabric textures can make handmade goods feel warm. If you need two looks, pick one light and one dark option and stick to those two choices across your catalog rather than changing backgrounds randomly.
Show scale without staging confusion
Scale cues are essential so buyers can judge size without exaggerated marketing shots. Include a simple, consistent reference in each photo: a coin, a ruler aligned near the object, or a photographed hand holding the item. Make sure the reference is unobtrusive and positioned the same way in every image so customers can quickly learn your frame of reference across multiple listings.
Be mindful of framing and negative space. Photograph one clear main view that includes the scale cue, then follow with detail shots that omit it for composition. For groups of items, separate the group shot from single-item shots so size relationships stay clear. Keeping this pattern consistent reduces the guesswork for buyers.
Control reflections and shadows the easy way
Shiny surfaces and small textural details can pick up distracting reflections in daylight. Position items slightly off the plane of the window to avoid a mirrored rectangle appearing on glossy surfaces. Use folded white foam board or a white card as a reflector to fill in unwanted shadows and keep details visible without flattening the object’s shape.
To deepen shadows when you want more dimensionality, use a black card to block light on one side rather than tucking the item into darker corners. You don’t need professional gels or lights; white and black cards are inexpensive and portable tools that let you balance contrast and depth for different product finishes.
Natural light product photography for gift shops: color
Color expectations are a common source of returns and questions, so keep buyers’ expectations accurate. Include a neutral reference like a gray card or a plain white card in a test shot, and use that shot to compare how colors look on your screen and in final listings. If you can’t edit extensively, make small adjustments so the white in your image appears neutral rather than blue or yellow compared with your reference.
Understand the trade-offs between natural look and perfect matching. Daylight reveals texture and subtle color shifts that studio lights can flatten, but daylight also changes throughout the day. Decide whether consistent color balance or precise color matching matters most for a given item. For color-sensitive wholesale listings, take final photos during the same window of time each day and note that window in your workflow.
Simple workflow for consistent results
Set up a single shooting station where height, angle, and lighting are repeatable. Use a small table at a steady distance from the window and mark positions for your backdrop and camera or phone so you can recreate the same framing. A tripod is helpful but a stack of books or a steady shelf works too; consistency beats perfection when you’re photographing dozens of items.
Label and store your backdrop materials, reflector cards, and scale props together so everything is on hand when you shoot. Name files with descriptive titles and batch-edit similar images using the same basic adjustments so colors and exposure match across a product group. This routine saves time and keeps your wholesale catalog looking unified and professional.
Honest daylight product photos are practical and achievable without high-end gear. Start with a repeatable window choice, one or two neutral backgrounds, consistent scale cues, and simple reflector tools. If you’d like to see examples in person or ask about wholesale listings from Helium South Beach, stop by 760 Ocean Drive Store No. 6, Miami Beach, FL 33139, email [email protected], or call +1 305-538-4526. Our Instagram @helium_southbeach shows current styles and display ideas.