
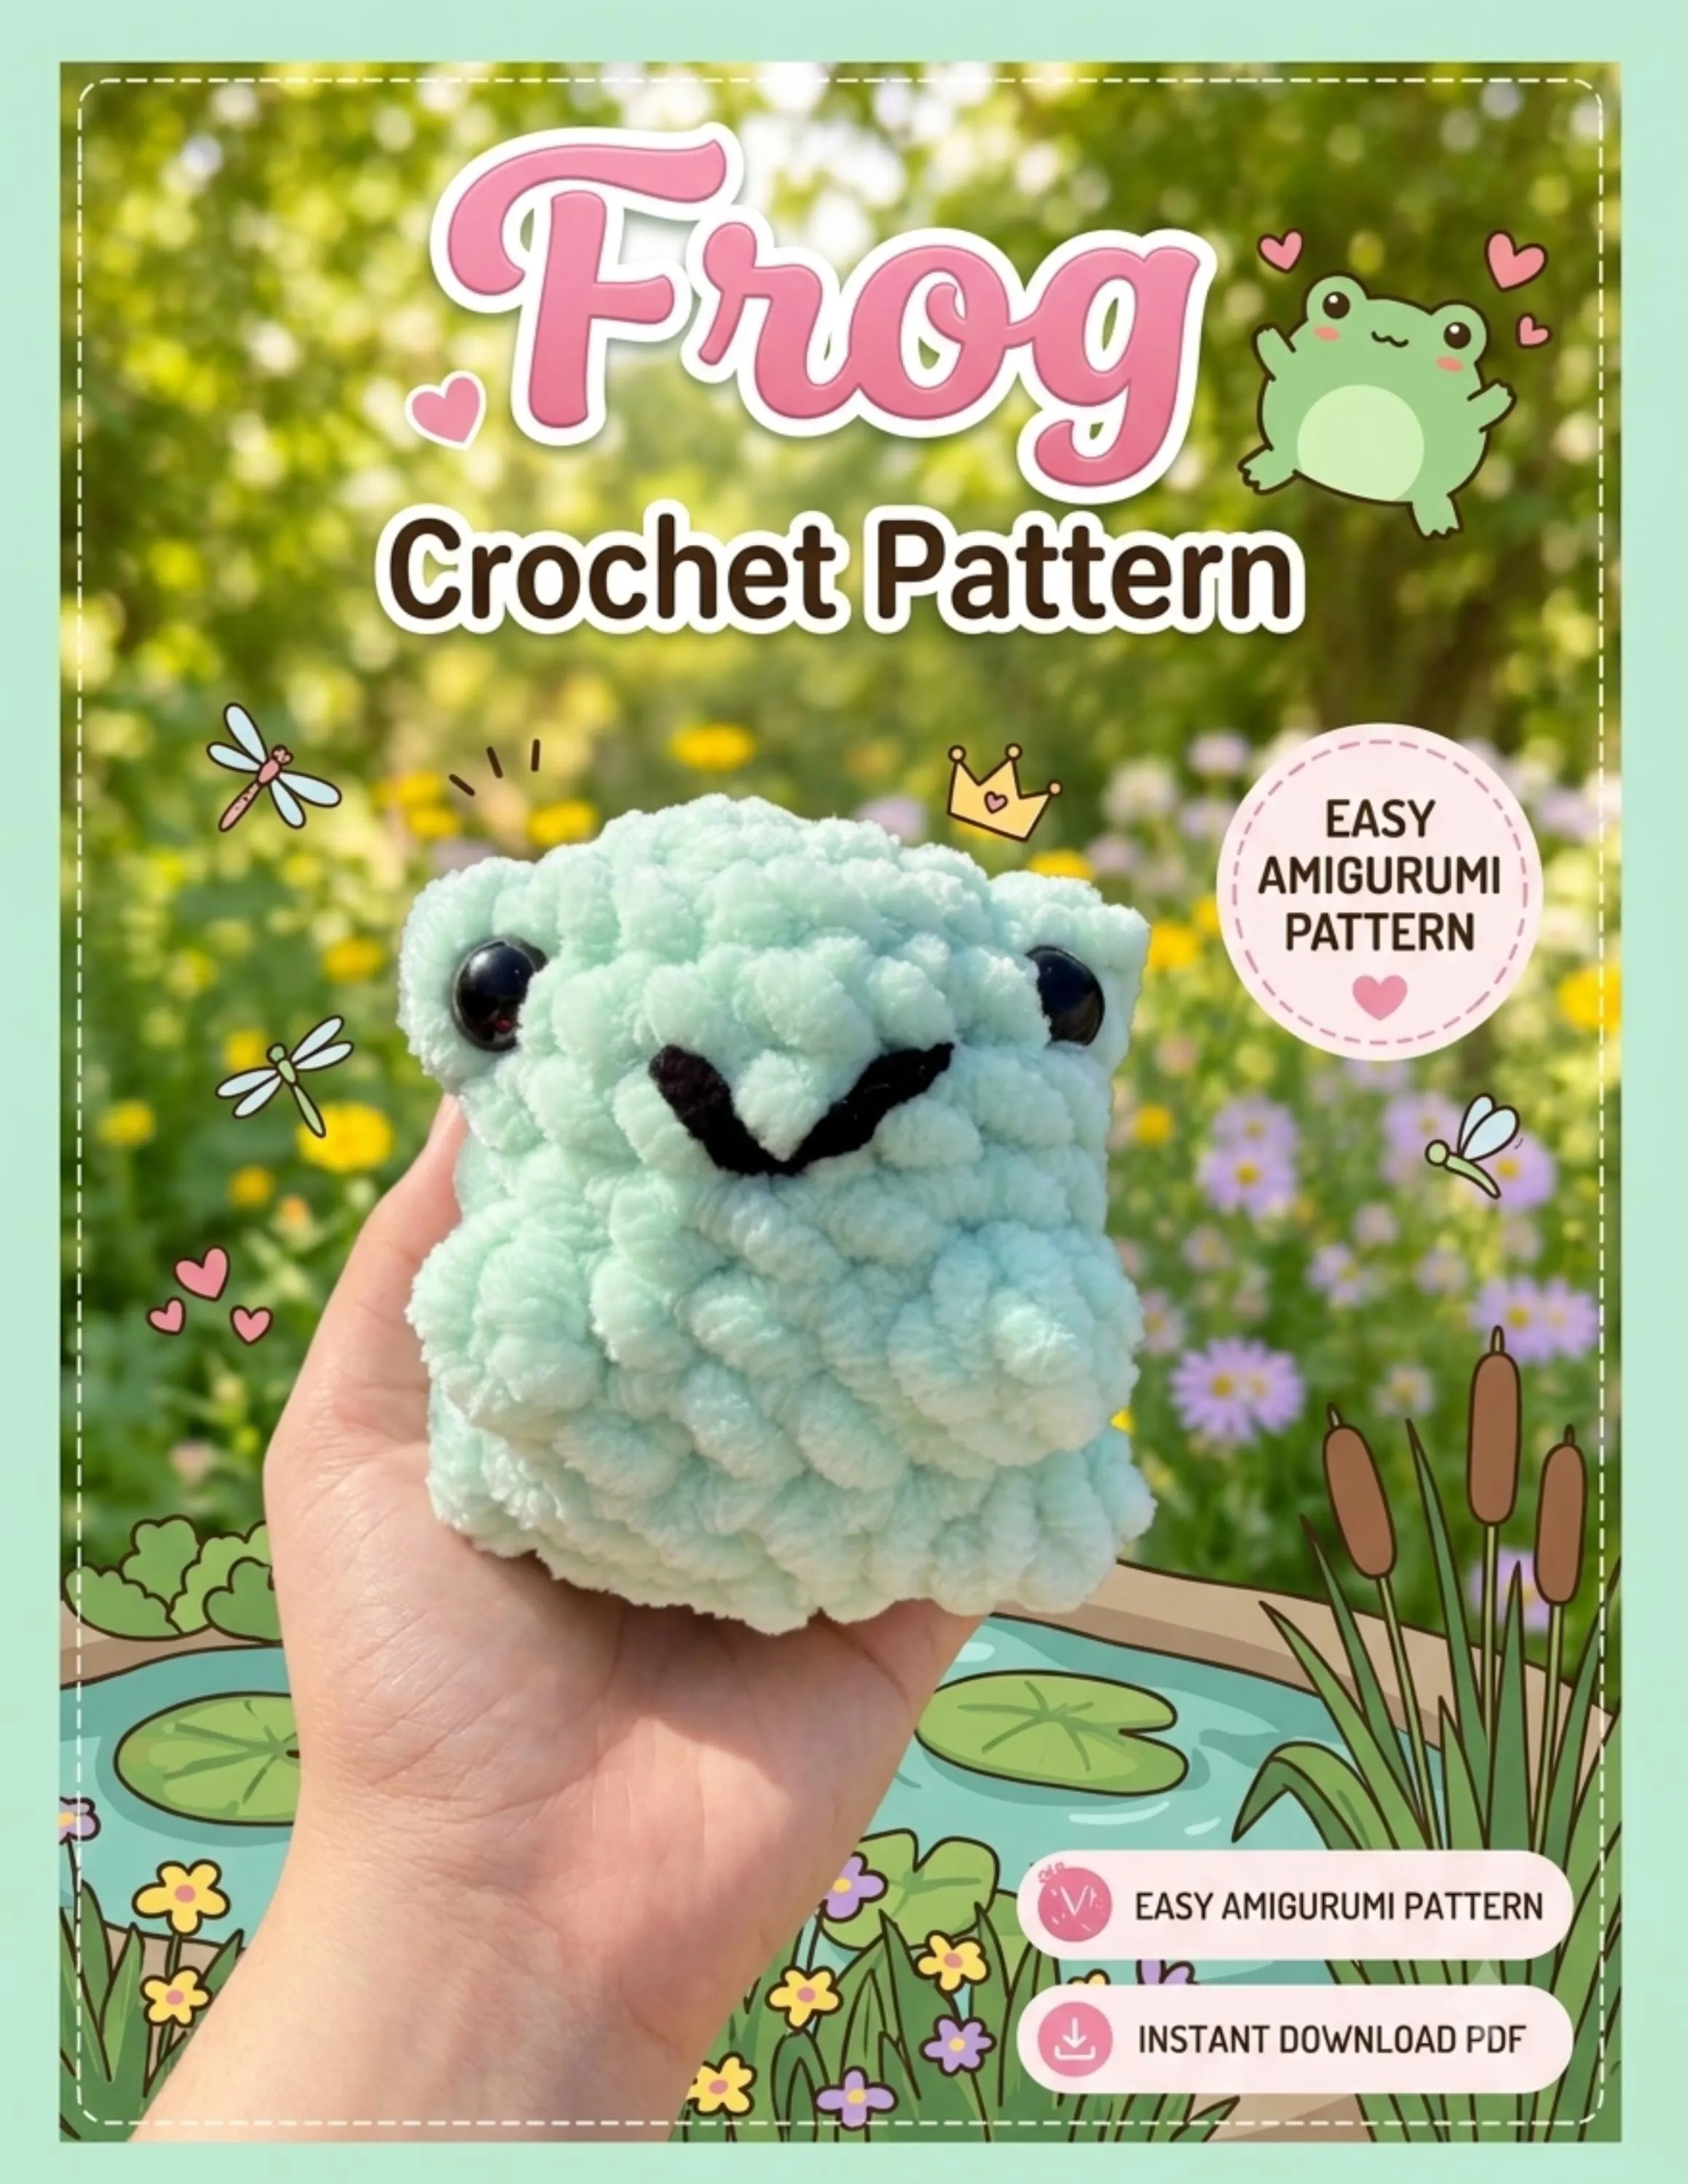
A tidy home studio starts with a sorting system that matches how you actually make things. Instead of forcing every item into an identical bin, this workflow groups tools and materials by use, frequency, and size, then makes those groups visible with consistent labeling. The result is less time hunting and more time crafting.
Start by grouping items by use and project
Begin with broad categories that reflect what you make: for example, amigurumi, crochet, wall hangings, and general craft supplies. Pull together everything you need for a single project—yarn, patterns, hooks, stuffing—so you can see gaps and duplicates. Grouping by project keeps active kits together and prevents supplies from getting scattered across multiple containers.
A practical decision point is whether to keep project kits separate from raw materials. Keeping kits intact speeds up return-to-work time, while storing raw materials by type keeps like items visible for inspiration. Choose the approach that matches how you work: if you jump between many small projects, project kits are usually more efficient; if you work in longer runs, material-based storage may be better.
Sort next by frequency of use to reduce daily clutter
Divide tools into daily, occasional, and rare-use groups. Daily items—scissors, measuring tape, favorite hooks—should live within arm’s reach on your main work surface. Occasional tools can go in nearby drawers or a rolling cart, and rare-use items can be stored higher up or in a closet to free up prime workspace.
Consider trade-offs: keeping everything visible takes space and can look busy, but keeps momentum moving. Hiding infrequently used tools behind doors keeps the studio visually calmer but costs a few minutes when you need them. Optimize for the amount of time you can afford to spend fetching tools versus the space you have.
Size matters: pick containers that match parts and tools
Choose storage that fits the scale of the items. Tall open bins work well for yarn skeins and rolled fabrics; shallow drawers or flat bins are better for patterns, cutting mats, and boards. Small parts like beads, clasps, or sewing notions belong in compartment boxes or clear jars so you can see colors and counts without emptying the vessel.
A common trade-off is between visibility and protection. Clear plastic drawers and jars let you spot what you need, while closed bins protect from dust and sun damage. If UV or dust is a concern for particular materials, prioritize closed storage for those items and keep clear containers for frequently used or display-worthy pieces.
Label clearly so your system keeps working
Invest time in consistent labeling: short, specific labels on the front of drawers, shelves, and bins will spare you second-guessing. Use a consistent scheme—either contents ("cotton yarn - worsted"), project name ("holiday garlands"), or both for complex kits. Keep labels readable from your usual standing or sitting position.
Decide whether to handwrite labels or print them. Handwritten labels are quick and flexible for shifting needs; printed labels look uniform and are easier to read at a glance. For mixed approaches, add a visible, consistent marker (colored tape or a small icon) so you can scan the system fast, especially when you’re in a time-crunched creative flow.
Arrange storage by your workflow and work zones
Designate zones for cutting, assembly, and finishing. Place cutting tools, rulers, and mats near a clear tabletop; place adhesives, needles, and trims where you sew or stitch; keep finished-item staging near your packing or display area. Aligning storage with the physical steps you take reduces walking and handling time.
Think vertically and horizontally: keep frequently used items at arm level and overflow either above or below. Mobile solutions like a small rolling cart can follow you from cutting to assembly. Lighting and a clear surface are also part of workflow—store task lights and extra mats where they’ll get used rather than tucked away.
How to organize craft supplies in a home studio and decide what to keep
When deciding whether to keep, donate, or relocate an item, use simple criteria: have you used it in the last year, does it fit a planned project, and is it replaceable at a reasonable cost? Keep duplicates for tools you use constantly, but consider paring down single-use specialty items unless you have a clear project need. This prevents supply creep while keeping essentials close.
Be realistic about storage limits. If a supply hasn’t been touched and you don’t have a project planned, that’s a candidate for donation or offsite storage. On the other hand, sentimental or unusual materials you’ll likely repurpose might be worth retaining in labeled, compact containers so they don’t slowly overwhelm your usable space.
A tidy, usable studio balances visibility, protection, and proximity: group by use, sort by frequency, size items appropriately, and label consistently. Try the system for a month and tweak it—every maker’s workflow is slightly different. For hands-on help or materials, stop by Helium South Beach (HELIUM, INC.), 760 Ocean Drive Store No. 6, Miami Beach, FL 33139, or reach us at [email protected] and +1 305-538-4526. Instagram: https://www.instagram.com/helium_southbeach/?hl=en.